


news
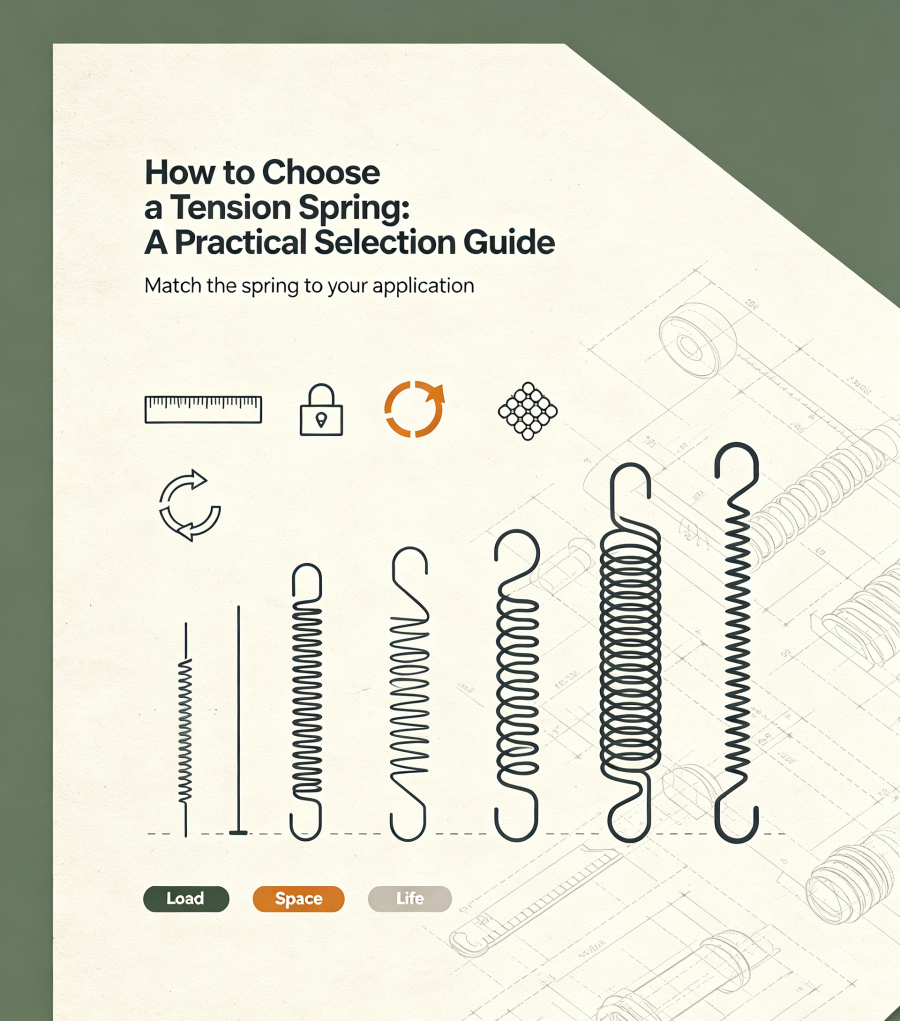
How to Choose a Tension Spring: A Practical Selection Guide
A tension spring breaks on a garage door, a piece of farm equipment, or a machine you maintain. You need a replacement, but you do not want to guess. A wrong pick can fail early, damage nearby parts, or create a safety risk. The good news is that choosing the right tension spring is easier when you follow a repair-person's process: figure out why the old spring failed, turn those clues into measurable specs, and verify the new spring before installation. This guide walks you through that process step by step, so you can order with confidence.
Key Takeaways:
- A tension spring stores energy by resisting being pulled apart, and it usually has hooks or loops on each end.
- Before ordering, you need to confirm the old spring's dimensions, end type, spring rate, and material.
- Look at how the old spring failed. A broken hook, rust damage, or stretched-out body points to different fixes.
- Match the material and finish to the environment, especially if the spring works outdoors or near moisture.
- Always install tension springs with the right tools and test them under a light load first.
What a Tension Spring Is (and How It Works)
A tension spring is a coil spring made to resist pulling. When you stretch it, it pulls back and tries to return to its original shape. That stored energy is what lifts a garage door or returns a lever to its starting position. The spring works by absorbing force as it extends and releasing that force when the load is removed.
Tension Spring vs. Compression Spring
A compression spring pushes back when you squeeze it. A tension spring does the opposite. It pulls back when you stretch it. You can usually tell them apart by looking at the ends. Tension springs need a way to be attached. Most have a hook end or a loop end. Compression springs often have flat or open ends that sit against another surface. If the old spring you are replacing has hooks or loops, it is almost certainly an extension spring, which is another name for a tension spring.
Key Terms You'll See on a Spec Sheet
Three terms matter most at the start. Initial tension is the force already built into the spring before you stretch it. Even a tension spring sitting at rest holds its coils tightly together. You have to apply a small amount of force just to start pulling the coils apart. This matters because initial tension is what keeps a garage door from drifting down or a throttle lever from sagging. If the initial tension is too low, the spring feels loose from the moment you install it—even if the spring rate looks correct on paper. Spring rate tells you how much force is needed to stretch the spring a certain distance. A higher spring rate means a stiffer spring. Maximum extension is the safe limit for how far the spring can stretch before it gets damaged. These three values help you compare springs without guessing, and they work together: initial tension gets the spring started, spring rate controls the pull as it stretches, and maximum extension sets the safety boundary.
Common Places You'll Find a Tension Spring
Tension springs show up in everyday items and in heavy-duty equipment. Knowing where they are used helps you confirm that the part you are replacing is actually a tension spring.
Everyday Uses
You likely interact with tension springs more often than you think. Garage door systems use them to counterbalance the door's weight. Trampolines use several tension springs around the mat to create bounce. Washing machines, lawn mowers, and bicycles use them in brake and throttle mechanisms. Pliers, clamps, and even some furniture can contain tension springs. In these settings, you usually need a spring that matches the original dimensions closely and resists rust, especially if moisture is present. For example, a trampoline spring sits outside all year and deals with rain, morning dew, and temperature swings. A bare steel spring in that spot will rust within a season or two, which is why most trampoline replacement springs are zinc-plated or galvanized. If you replace one trampoline spring with a bare steel version, it will look fine for a few weeks and then start shedding rust onto the mat.
Industrial and Automotive Uses
In industrial and automotive settings, tension springs handle more demanding jobs. You will find them in agricultural machinery, conveyor systems, brake assemblies, hood latches, and throttle return springs on small engines. These applications often involve frequent stretching, higher loads, or exposure to oil, dirt, and weather. When a spring fails in one of these settings, the replacement choice matters more. You may need a stronger material or a better finish instead of simply copying the old spring's size. A throttle return spring on a lawn mower is a good example: it cycles every time the operator releases the handle, so it sees thousands of stretch-and-return cycles per season. In that job, fatigue resistance and a secure hook shape matter as much as the spring rate.
How to Read a Tension Spring Specification
You do not need an engineering degree to read a spring spec sheet. You just need to know which numbers must match and which numbers you can adjust.
Dimensions That Must Match
Wire diameter is the thickness of the wire used to make the spring. Free length is the total length of the spring when it is not under load. Both are critical. If the wire diameter is wrong, the spring will be too weak or too stiff. If the free length is wrong, the spring may not fit the mounting points. Also check the outside diameter of the coil body and the hook or loop shape. The new spring must fit in the same space and attach to the same points as the old one.
One mistake repair people often make here is measuring only the free length and calling it good. That is like ordering a bolt by length alone—you also need the thread size. A spring with the right free length but a thinner wire diameter will stretch at the same distance, but it will not produce the same pull. If your old spring measured 0.095 inches in wire diameter and you order a 0.080-inch replacement because it was cheaper and in stock, you have just installed a weaker spring. It may hold the part in place when idle, but under load it will stretch too far and either fail early or let the mechanism sag.
Force Specs: Spring Rate and Initial Tension
Spring rate is usually listed in pounds per inch or newtons per millimeter. It tells you how much additional force is needed for each unit of stretch. Initial tension tells you how much force is needed before the spring even begins to extend. Together, these two values describe how the spring feels when you pull it. If a spring manufacturer does not list these values, ask for them. Matching only the dimensions is not enough when the spring must perform a specific job.
Here is why both numbers matter. Suppose you are replacing a spring on a screen door closer. The old spring has a free length of 8 inches and a spring rate of 2 pounds per inch. You find a similar-looking spring with the same free length and end hooks, but a spring rate of 3 pounds per inch. The door will still close, but it will slam shut because the spring pulls harder at every point in the stretch. Or go the other way: a 1-pound-per-inch spring will let the door drift open because it cannot hold the tension. Dimensions get the spring into the mount; force specs make it do the job.
End Types: Hooks, Loops, and Threaded Inserts
The end type determines how the spring connects to your equipment. A hook end has a gap, like the hook on a keychain, and can be slipped over a rod or pin. A loop end is a fully closed circle and is more secure but harder to remove. Some tension springs use threaded inserts or custom ends for specific machines. When you order, note whether you need a full loop, an extended hook, or a side hook. The attachment style must match the old spring or your installation will fail before the spring itself does.
Hook orientation is the detail that trips up first-time buyers. A spring with both hooks pointing the same direction will not fit a bracket designed for hooks that face opposite ways. Before you order, set the old spring flat on a table and note the clock position of each hook. Take a photo from the side. Then compare that photo to the product image or spec drawing before you click "buy." It sounds basic, but a wrong hook orientation is one of the top reasons repair shops see returned springs.
A Simple Step-by-Step Selection Process
The most reliable way to pick a replacement is to start with the old spring and work from its failure clues.
Step 1: Measure the Old Spring
Start with four measurements. Measure the free length from end to end without stretching the spring. Measure the wire diameter with a caliper if you have one. Measure the outside diameter of the coil body. Then note how many coils you can count. These numbers give a supplier a strong starting point. If the old spring is still partly attached, remove it carefully before measuring. Write down every number, even if you are not sure you need it.
If you do not have a caliper, a workable backup is to wrap a piece of string around the wire ten times, measure the length of string, and divide by ten. That gives you a rough wire diameter. It is not as exact as a caliper, but it is far better than eyeballing it. And when you count coils, count the full 360-degree turns in the spring body only—not the hook sections. Suppliers use the coil count to double-check their math against your other measurements.
Step 2: Match the End Type
Look closely at both ends of the old spring. Are they open hooks, closed loops, or something custom? Check the hook opening direction. A spring with two hooks pointing opposite directions will not work in a mount built for a hook and a loop. Take a photo of the ends before ordering. This step avoids the most common ordering mistake: getting the right body size with the wrong attachment.
Imagine this scenario: you are fixing a gate closer on a chain-link fence. The old tension spring has a closed loop on one end that bolts to the post, and an open hook on the other end that grabs the gate frame. You order a replacement with open hooks on both ends. The spring fits the stretch distance, but the open hook slips off the bolt after a few hours of the gate swinging open and shut. You save time by checking the end type before you order, not after the gate falls open in the wind.
Step 3: Verify Material and Finish
Do not skip this step. If the old spring rusted through, a bare steel replacement will fail the same way. If the spring broke near a hook, the wire may have been too thin for the load. In that case, consider a larger wire diameter or a stronger material. If the spring worked fine for years and broke from ordinary wear, a close material match is usually fine. Match the finish—zinc plating, stainless steel, or another coating—to the environment the spring lives in. Use the old spring's failure as a clue for what to upgrade, not just what to replace.
This is where many repair jobs go wrong. A maintenance person pulls a rusted tension spring off an outdoor conveyor, orders the same size from a catalog, and installs a plain steel spring because it is cheapest. Six months later, the new spring is rusted and snapping. The original spring did not fail because of a design flaw—it failed because the coating wore out years ago and the environment finished the job. By upgrading to stainless or a heavier zinc coating, you break the failure cycle instead of repeating it.
Material and Finish Options That Help a Tension Spring Last Longer
Material choice affects both cost and lifespan. A cheap spring can become expensive if it fails early.
Common Spring Steels
Spring steel is a broad term for high-carbon steel made to flex and return. Music wire, also called piano wire, is a common high-strength spring steel. It works well for indoor applications where rust is not a major concern. Stainless steel resists rust and corrosion, which makes it a good pick for outdoor equipment, food-handling areas, or anything washed down regularly. Zinc-plated steel offers a middle ground. The zinc coating adds some corrosion protection at a lower cost than stainless. For high-temperature settings, ask your supplier about heat-resistant alloys.
The reason stainless steel works so well outdoors comes down to chemistry. Standard spring steel rusts when moisture and oxygen reach the iron in the wire. Stainless steel contains chromium, which forms a thin invisible layer on the surface that blocks moisture from reaching the iron underneath. That is why a stainless spring can sit on a dock or in a greenhouse for years without pitting. The trade-off is strength: in high-load applications, some stainless grades are slightly softer than music wire. If the spring must hold a heavy load and sit outdoors, talk to your supplier about the trade-off between corrosion resistance and tensile strength before you pick the cheapest stainless option.
Coatings and Corrosion Protection
A coating alone does not make a weak spring strong, but it can greatly extend the spring's life in a damp environment. Zinc plating is common and affordable. Powder coating adds a thicker protective layer but may chip on moving parts. If the spring will be stretched thousands of times, a thin plating that wears off quickly may not be worth the savings. Choose stainless steel when rust is the main cause of past failures. Choose a coated steel when you need strength at a lower price and the spring stays mostly dry.
One thing to watch with zinc plating: the plating can crack or flake off at the hook bend where stress concentrates. The coil body might stay protected, but the hook—the part most exposed to constant flexing—becomes the first rust spot. If you are replacing a spring that rusted through at the hook, a thicker coating on the hook area or a stainless upgrade is the smarter fix.
Safe Installation and Replacement Tips
Tension springs store energy even when they look relaxed. That stored energy can release suddenly during installation or removal. Handle every tension spring as loaded until you confirm it is not.
Installation Do's
Use the right tool. Pliers with a good grip are the minimum, but spring hooks or spring pullers are safer and easier to control. Never use your fingers as the only anchor point on a stretched spring. Hook one end first, then stretch the spring only as far as needed to attach the other end. Do not overstretch. If the spring will not reach the second mounting point, stop and check the free length. Forcing it means the spring is too short or the mount is out of position. After installation, cycle the part through a small range of motion a few times before applying full load. This low-load test catches bad attachments and misaligned ends early.
A spring puller looks like a T-handle with a curved hook on the end. You slip the hook through the spring's loop, plant your feet, and pull with your legs—not your fingertips. Compare that to gripping the hook with needle-nose pliers, where one slip sends the spring flying toward your face or across the shop. The right tool keeps the spring under control at the point where it carries the most stored energy. If you replace tension springs more than once a year, the twenty bucks for a proper spring puller pays for itself the first time you avoid a busted knuckle or a lost spring behind a workbench.
Signs You Need a Replacement
Replace a tension spring if you see visible cracks, deep rust, stretched coils, or deformed hooks. A spring that no longer returns to its original free length has lost its force and should be replaced. If the coils no longer sit tightly together at rest, the initial tension is gone. Do not try to repair a broken tension spring by bending the hook back or welding it. Welded areas weaken the spring and can fail without warning. When in doubt, replace the spring. It is a low-cost part compared to the damage a failed spring can cause.
Here is why welding a spring hook is a bad idea. The heat from welding changes the structure of the steel at the weld point. That area becomes harder and more brittle, which means it snaps under a load that the original wire would have handled easily. The same goes for bending a deformed hook back into shape—you are work-hardening the wire at the bend, making it stiffer and more likely to crack. A ten-dollar replacement spring is cheaper than the damage from a spring that lets go at full stretch on a machine that someone is standing next to.
Before You Order: A Quick Tension Spring Checklist
Before you contact a supplier, gather these details. You will get a faster quote and a better match.
- Wire diameter and free length of the old spring
- Outside diameter of the coil body and approximate coil count
- End type on each side, including direction of hooks or loops
- Spring rate and initial tension if available
- Material and finish of the old spring, plus any rust or breakage clues
- The application and environment
If you only know the dimensions and end type, a good supplier can still help. But the more force and material details you bring, the more likely your replacement tension spring will perform like the original. Write down your answers, keep the old spring until the new one arrives, and double-check the hook orientation before you install.
Frequently Asked Questions
What measurements do I need before ordering a replacement tension spring?
Measure the free length, wire diameter, outside diameter, and approximate coil count of the old spring. Also note the end type and hook orientation on both sides, and record the spring rate and initial tension if those specs are available.
Is an extension spring the same as a tension spring?
Yes, the two terms are used interchangeably. Both resist pulling, store energy when stretched, and usually have hooks or loops on each end for attachment.
How do I know if a tension spring needs to be replaced?
Look for visible cracks, deep rust, stretched coils, or deformed hooks. A spring that no longer returns to its original free length or has coils that do not sit tightly together at rest has likely lost its initial tension and should be replaced.
What does initial tension mean when selecting a tension spring?
Initial tension is the force already built into the spring before you stretch it. It holds the coils tightly together and must be overcome before the spring begins to extend. If the initial tension is too low, the spring may feel loose even at rest.
Should I use stainless steel or zinc-plated steel for an outdoor tension spring?
Stainless steel is usually the better choice for wet or outdoor environments because it resists rust more reliably. Zinc-plated steel can work if the spring stays mostly dry, but the coating may wear or flake at stress points like the hooks.
Tags:plastic spring
0users like this.
