


news
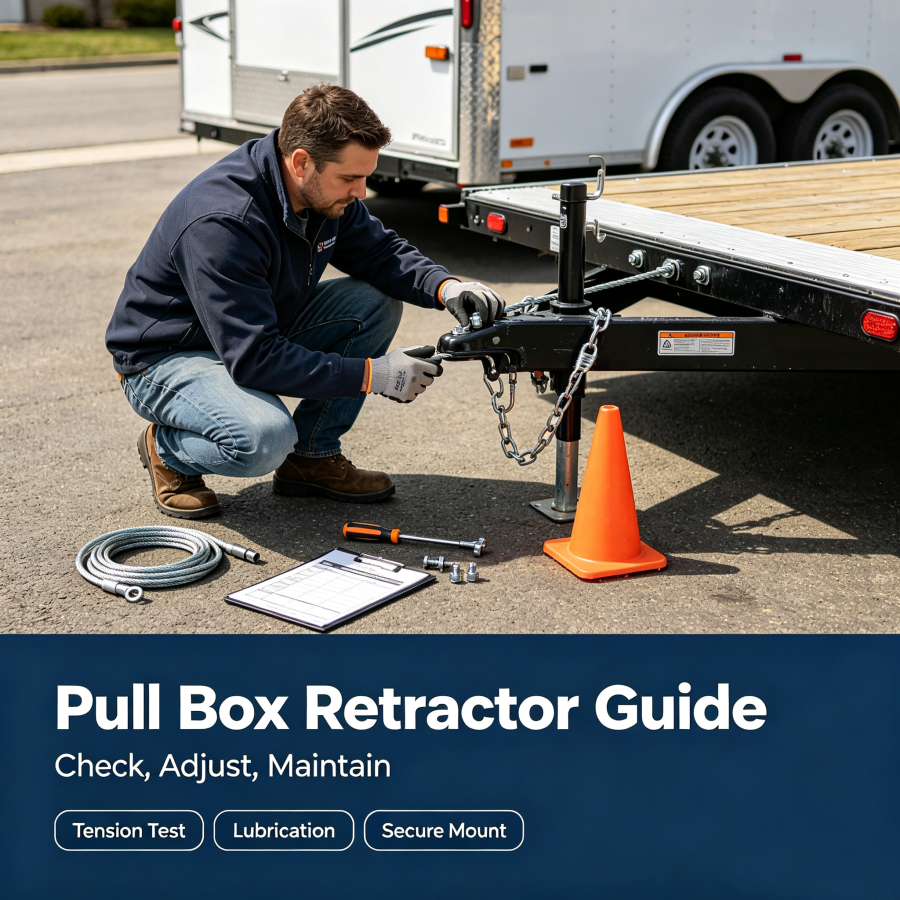
What Is a Pull Box Retractor? A Plain-English Guide for Trailer Owners
You hook up the trailer, pull away from the storage lot, and feel the brakes drag just enough to make you check the mirror. Maybe the brake cable looks loose at the wheel. Maybe the parking brake handle feels slow to return. Most people start looking at cables or shoes first. But on many cable-operated trailer brake systems, the real problem is a small spring-loaded part called the pull box retractor. This guide explains what it does, how to tell when it is failing, and how to inspect, replace, and maintain it without confusing it with other brake issues.
Key Takeaways:
- A pull box retractor uses spring tension to pull the brake cable back to its resting position after you release the brake.
- Common failure signs include cable slack, slow pedal or handle return, uneven braking, rust, and cracked mounting holes.
- A safe inspection starts with wheel chocks and released brake tension. Never inspect a retractor under load.
- Replacement requires matching the mounting style, cable diameter, and travel range. Part numbers and photos beat guessing by appearance.
- After installation, always check cable return, spring movement, and tension before towing. Download the free pre-trip brake inspection checklist before your next trip.
⚠️ Safety note: Brake failures can lead to serious accidents. If you are ever unsure about an inspection or repair, have a certified trailer brake technician check the system before you tow.
Start Here: What a Pull Box Retractor Does
The pull box retractor is the return mechanism for your cable-operated brake system. Its job is simple: when you release the parking brake or service brake, the retractor pulls the brake cable back to its resting position. Without it, the cable can stay partially engaged and leave the brakes dragging.
Where It Sits in Your Brake System
You will usually find the pull box retractor mounted to a bracket along the frame or inside the trailer brake assembly area. One end connects to the brake cable. The other end anchors to the mounting bracket. When you pull the brake lever or pedal, the cable moves forward. When you release it, the retractor pulls the cable back.
This is separate from the brake shoes or pads. The retractor does not stop the trailer. It resets the system so the brakes are ready for the next stop.
Why Spring Tension Matters
Spring tension inside the retractor is what keeps the cable from sticking. If the spring is too weak, the cable returns slowly or not at all. If the spring is rusted or broken, you may feel a dead, loose brake handle.
Experienced trailer techs often check the retractor before the cable for one simple reason: spring fatigue is gradual. A return spring loses tension a little at a time, so the brake feels fine right up until the day the cable stops returning fully. That is why a retractor that looks intact can still be the root cause. Cable slack is the symptom; a tired spring is often the disease.
Proper spring tension also keeps the cable routed correctly. A retractor with good tension helps keep cable slack from piling up at the wrong spot. That matters because excess slack can cause uneven braking or make the cable rub against the frame. Over time, a cable rubbing the frame wears through the outer jacket. Once water gets inside, corrosion spreads along the cable and into the retractor. Replacing a retractor is cheaper than replacing the full cable assembly.
How to Spot a Failing Pull Box Retractor
A failing retractor often gets blamed on the brake cable or return spring. But there are specific signs that point back to the retractor itself. Start with what you can see, then pay attention to how the brake feels.
Visual and Mechanical Warning Signs
Look at the retractor housing and mounting bracket. Rust, cracks, or stretched mounting holes are clear warning signs. If the bracket is loose or the retractor can move by hand, the spring is not working the way it should.
One thing to know: cracks usually show up at the mounting ears or around the cable entry point first. The spring action puts repeated load on those points every time you stop. When you see a crack starting there, the housing is already flexing under tension. It is not a "keep an eye on it" item. Replace it.
Check the cable seating where it enters the retractor. The cable should sit straight and move smoothly. If the cable is frayed, kinked, or sitting at an angle, the retractor may be pulling unevenly.
You can also check return action by hand when the brake tension is released. Pull the cable gently and let it go. It should snap back quickly. A slow return, a sticky spot, or no return at all points to a worn internal spring.
Symptoms You Should Not Ignore
Some symptoms show up while driving or during a pre-trip check. Cable slack between the retractor and the wheel end is a common one. If the cable droops or sags, the retractor is not taking up the play.
Uneven braking is another red flag. If one side feels like it grabs before the other, a weak retractor may be causing one cable to return more slowly than the other. A slow-return pedal or parking brake handle is also a sign, especially if it gets worse over time.
Here is a scenario that trips up a lot of owners: you pull into a rest stop after highway driving and touch the wheel hub with the back of your hand. One side is much hotter than the other. The brake is not fully releasing on that side. You did not feel it in the truck because the trailer is heavy and the drag is light. But a dragging brake on one wheel means the retractor on that side is not returning the cable all the way. That extra heat is cooking the grease in your hub and glazing the brake shoes.
Do not ignore a dragging brake smell, excessive heat at one wheel, or a trailer that pulls to one side. These can start as retractor problems and turn into overheated brake components.
How to Inspect a Pull Box Retractor Step by Step
You can do a basic retractor inspection in about five minutes with simple hand tools. The key is to work safely. Never inspect a retractor while the brake system is under tension.
Tools and Safety Prep
You will need a flashlight, a pry bar or screwdriver, hand wipes, and basic wrenches or sockets for checking bracket bolts. Gloves and safety glasses are a good idea because you will be close to the frame and under the trailer.
First, park on level ground and chock the wheels. Set the trailer brakes if they are not already set, then release all parking brake tension. If your trailer has a breakaway system, make sure it is not engaged. You want the cable slack enough to move by hand.
A common mistake here is trying to save time by inspecting the retractor with the parking brake still engaged. The cable is under tension, so the retractor feels stiff by default. You cannot tell a weak spring from a loaded one. Release the brake fully, then judge the return action.
The 5-Minute Inspection Routine
Follow this routine every time you suspect a retractor issue:
- Check the mounting bracket. Try to wiggle it by hand. Loose bolts or elongated holes reduce retractor performance.
- Look at the retractor housing. Check for rust, cracks, or damage at the spring area.
- Pull the cable by hand. It should move freely and snap back quickly.
- Inspect cable seating. The cable should enter the retractor straight. Fraying or kinking near the box means extra resistance.
- Check return spring movement. If your setup has an external return spring, make sure it is not stretched, rusted, or disconnected.
If the retractor fails any of these checks, replace it before your next trip. A dragging brake can overheat the wheel hub and create a bigger repair.
How to Choose the Right Replacement Pull Box Retractor
Buying the right retractor is about fitment, not just price. A part that looks close enough can still cause cable binding or poor return.
Fitment, Material, and Coating
Match the mounting style first. Some retractors bolt flat to a bracket. Others slide into a slot or use a pin. Note the bolt spacing and hole size before you order.
Match the cable diameter and travel range. A retractor designed for a thinner cable may not seat correctly. One with less travel may not fully release the brake.
Material matters for corrosion protection. Look for a housing with a rust-resistant coating, especially if you tow in rain, snow, or coastal areas. A sealed or shielded spring area helps keep dirt and moisture out.
Avoiding Cross-Reference Mistakes
The easiest way to avoid a wrong part is to use an OEM part number. Take a photo of the old retractor next to a ruler. Write down the cable diameter and mounting bolt spacing.
Do not guess by appearance alone. Many retractors look alike from a catalog image but differ in travel range or spring rate. If you are unsure between two options, compare the manufacturer diagram to your old part rather than buying the cheaper one.
Here is the wrong way to do it: you are in the parts store, hold up the old retractor next to a new one, and say "close enough." Then you install it and find the brake cable no longer returns all the way. The travel range is a quarter inch shorter than what your brake system needs. That quarter inch keeps the shoes slightly engaged, and you are back to a dragging brake. Wrong-fit retractors are a common cause of "I replaced it and the problem got worse" complaints. Match the travel range, not just the shape.
How to Replace a Pull Box Retractor Safely
Replacing a pull box retractor is straightforward on most cable-operated trailer brake systems. The important part is doing the job in the right sequence so you do not create new cable slack or damage the return spring.
Removal and Cleaning
Start with the same safety prep as inspection. Chock the wheels and release brake tension. Remove the brake cable from the old retractor. Note how the cable was routed before you take anything apart.
Unbolt the retractor from the mounting bracket. If the bolts are rusted, use penetrating oil and let it sit for a few minutes. Once the old retractor is off, clean the bracket surface. Check the surrounding area for rust or cracks. Inspect the brake cable for fraying, kinks, or corrosion. If the cable is damaged, replace it with the retractor rather than putting a new part on a weak cable.
Installation and Tension Check
Install the new retractor in the same position as the old one. Tighten the mounting bolts to the manufacturer's torque recommendation if you have it. If not, tighten them until snug and check that the retractor cannot move.
Reconnect the brake cable. Make sure it seats straight. Restore brake tension slowly. Then test the retractor by applying and releasing the brake several times. The cable should return fully every time. Walk back and check for cable slack at the wheel end.
Finally, rotate the wheel by hand with the brake released. You should not feel drag. If you do, recheck cable routing and spring tension before towing.
A realistic test: after installation, have someone work the brake handle while you lie under the trailer and watch the retractor move. This is what a shop tech would do. You are looking for hesitation on release, a cable that returns most of the way but not all the way, or any clicking that suggests the spring is binding.
Maintenance Habits That Extend Service Life
A pull box retractor is small, but it works every time you stop. A few simple habits can keep most failures away.
Seasonal Inspection and Lubrication
Make the retractor part of your seasonal brake checks, or fold it into a DOT inspection before commercial hauls. When you inspect the parking brake system, look for rust buildup around the spring housing and mounting bolts.
One habit that pays off: after a winter of towing through salt, take a minute with a flashlight and look at the cable where it enters the retractor. Salt water sits there and works its way into the spring area. A quick rinse with fresh water and a light corrosion spray on the housing can double the life of the part in northern climates. But keep the spray away from the brake shoes and pads.
Lubricate only the moving points that the manufacturer recommends. Do not spray heavy grease into the spring area. That can trap dirt and make the return slower. A light corrosion protection spray on the housing helps in wet climates, but keep it away from brake shoes and pads.
When to Call a Professional
Some conditions call for a pro. If the mounting bracket is cracked or the frame area around it is rusted, you need more than a part swap. If you have an air brake system or complex electric-over-hydraulic setup, stop and get professional help before changing any brake component.
If you replace the retractor and still feel cable bind or uneven braking, do not keep guessing. A certified trailer brake technician can test the full system and find the real issue.
Next Steps: Your Pre-Trip Brake Safety Checklist
A pull box retractor often fails slowly. The difference between catching it early and dealing with a roadside brake problem is a simple pre-trip routine. Imagine this: you are 300 miles from home, the sun is going down, and you feel the trailer start to pull. That knot-in-the-stomach feeling is avoidable. The five-minute check you skipped at the storage lot was the one that would have caught it.
Download the free pre-trip brake inspection checklist before your next trailer trip. Use it to confirm the retractor and cable are road-ready. It takes a few minutes and helps you spot cable slack, rust, or return problems before they turn into a bigger repair.
Most trailer brake issues get easier when you know which part does what. The pull box retractor has one job: return the cable. When it works, you don't think about it. When it doesn't, you now know what to check first.
Frequently Asked Questions About the Pull Box Retractor
What does a pull box retractor do on a trailer?
It is the spring-loaded part that pulls the brake cable back to its resting position after you release the parking or service brake. Without a working retractor, the cable can stay partially engaged and cause the brakes to drag.
What are the symptoms of a bad pull box retractor?
Common warning signs include cable slack between the retractor and the wheel, a brake pedal or handle that returns slowly, and one wheel hub running hotter than the other after towing. You may also see rust, cracks, or a loose mounting bracket at the retractor. If the cable does not snap back when pulled by hand with the brake tension released, the internal spring is likely weak.
Can a pull box retractor cause one trailer brake to drag?
Yes. A weak retractor spring may not take up cable slack, so the cable stays partially engaged and keeps the brake shoes applied. That can lead to a hot wheel hub, glazed shoes, and a trailer that pulls to one side.
How do you replace a pull box retractor on a trailer?
First chock the wheels and fully release brake tension, then note the cable routing before removing the cable and mounting bolts. Clean the bracket and install a new retractor that matches the original mounting style, cable diameter, and travel range. Reconnect the cable and apply the brake several times to confirm full return and no wheel drag.
Should I lubricate a pull box retractor?
Use only a light corrosion protection spray on the housing in wet or salt-heavy areas, and keep it away from brake shoes and pads. Avoid spraying heavy grease into the spring area because it traps dirt and can slow return. A quick rinse with fresh water after winter towing can also help extend part life.
0users like this.
